Gardening Tip: Double Digging

Gardening

Have you ever wondered if you could pull off a double-digging project for your garden?

Well this article is going to show you how we do it for our clients.

If you’ve got an area of soil that you’ve felt needed some TLC and would be the perfect spot if only it could be fixed then don’t despair.

Really.

If you are willing to get your hands dirty and put in some effort you might be able to realize this dream.

What Is Double-Digging?

What exactly is double-digging you ask?

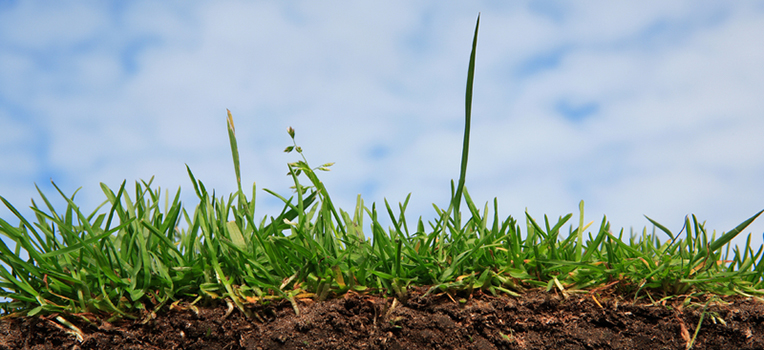
It is the process of loosening the soil about a foot underground to help make the ground loose enough for your plant roots to easily grow and expand. It adds air deep down into the soil and really enables the root system to grow.

Why Should You Do It?

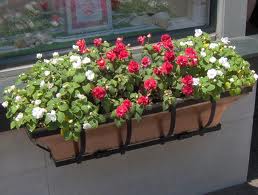
The fact is, beets, carrots, potatoes and other root crops need the soil they grow in to be loose so that their roots can grow deep and expand.

Many consider double-digging as the most important step towards a healthy, vibrant and productive garden.

Here’s how to do it.

1) Start At One End

Starting at one end of your garden, dig a 1′ x 1′ foot deep trench across the garden bed’s width.

Don’t throw away the dirt you remove. Set it in a pile or in a container for just a moment.

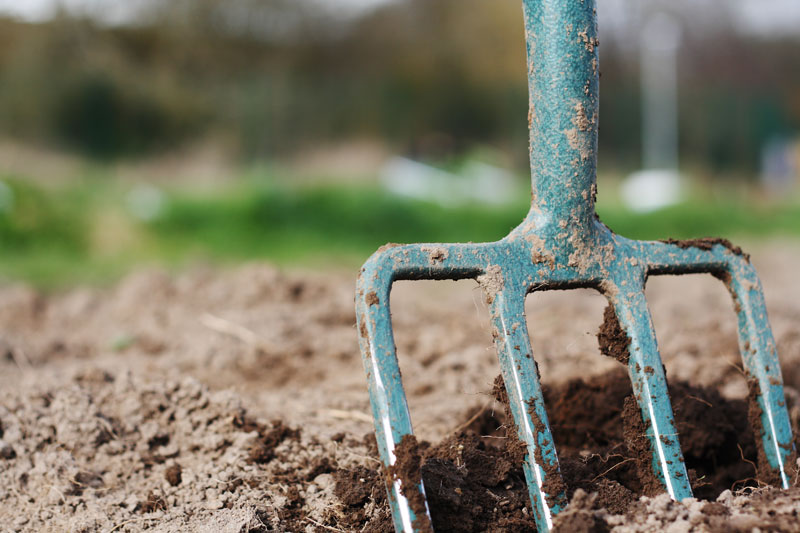
2) Use a Garden Fork

Using a garden fork or similar tool with pines, go along the trench and loosen the dirt. Really make sure it’s loose and fluffy.

3) Dig a Second

Now, dig a second trench just like the first. However, take the soil you remove and place it back into the first trench.

Again, using a fork, loosen the dirt at the bottom of the second trench. This will help.

4) One More Trench

Dig yet another trench and take the dirt you remove and place it into the second trench. Keep going until you reach the end of the garden bed.

Once you’ve reached the end take the soil from the first trench and use it to fill in the final trench.

Whew! All done.

There is no doubt about, this is not easy work but the payoff is invaluable. Your garden will thank you by producing far better crops then if you don’t do this with a garden bed that is hard and dense.

Remember, we service the South Surrey area if you ever need a quote.

Spring Lawn Care

Gardening, Lawn Care, Lawn Mowing

Fight Thatch

If you are wondering what thatch is, it’s the layer of partially decomposed stems and roots that builds between your grass and soil surface. Some thatch is beneficial – it conserves ground moisture, cushions turf and insulates soil from extreme temperatures. But anything more than half an inch thick can be problematic. Heavy thatch can repel water, dry up roots and provide cover for unwanted insects.

Control thatch by raking your lawn with a power rake or by using a lawn aerator. A lawn aerator pulls cores out of the soil, allowing water, light and air to enter and gradually break down thatch. Severe cases of thatch may require the use of a mechanical dethatcher, or complete removal and replanting of sod.

Prep Soil

Proper soil preparation can take your lawn from blasé to beautiful. Improving your lawn soil allows roots to grow deeply and more evenly, making your lawn more resistant to drought. To restore valuable nutrients and build soil structure, spread organic material such as compost, peat moss or well-rotted leaf mould evenly on your lawn before seeding. You can also use a specially formulated lawn soil.

Spread Overseed

Overseeding is often overlooked when it comes to home lawn care. Extra seeding can repair bare patches and create a thick lawn that can crowd out weeds, and resist insects and disease. Purchase a grass seed that will grow in both sunny and shady areas, such as Scotts Turf Builder Sun & Shade Grass Seed, and distribute it evenly onto your lawn using a hand-held spreader. If you have a large property, consider investing in a push broadcast spreader. Lightly rake the soil to create seed-soil contact, but don’t cover the grass seed here as it needs direct sunlight to germinate.

Water The Soil

Grass seeds need direct sunlight and regular moisture to germinate, which can take up to three weeks. Be vigilant and water the seed daily, ensuring it stays moist for up to one hour per day. Only once you start to see the grass seed germinate should you begin to cut back on watering. Water new and established lawns early in the morning to avoid any water being lost to evaporation. Also, avoid watering at night — your lawn will likely stay wet all night providing an ideal environment for weeds and disease to take root. Once your lawn is established, water deeply (unless it has rained) with at least one inch of water per week to encourage healthy roots.

Use a “Green” Fertilizer

Your lawn will naturally thrive if you pay attention to it early in the season, but lawns do require fertilizer in order to stay healthy and maintain a lush green appearance. Every eight weeks, use an eco-friendly fertilizer — not only do these products promote strong root development and choke out weeds, they are also safe to use around children and pets, and are permitted in areas with pesticide/herbicide bans. Homemade compost is a natural alternative you can use to provide essential nutrients for a thick, green lawn.

If you have happen to live in the Clayton area we can provide a quote.


We hoped you got some good content from this article about spring lawn care. Please click the Facebook LIKE button below and leave a comment. You can also request a free lawn and garden quote from us today.


How To Grow an Organic Garden

Gardening

Organic Gardening: How To Grow an Organic Vegetable Garden

Buying organic vegetables is great but growing your own is even better.

Why have an organic vegetable garden?

Well you get great produce which is better than you can buy as well as great satisfaction of being outside and producing a great result.

Plus you get fresher food which is better than you can buy. A lot of chefs are going this route now and what is cooler than being able to say that you’re not just a gardener but an organic gardener.

1) Look For Place That Gets Full Sun

2) Garden Plot Needs Good Drainage

3) Don’t Need A lot Of Space To Start (4’x8′ to 4′ x 10′)

4) Garden Tools: Wooden Stakes, Large Size Spade, Garden Fork, Newspaper and Compost

Until next time…


6 Quick Tips On Caring For Your Plants

Gardening

There are numerous people who get quite upset and frantic about how to care for their plants. Trust us when we say that there is nothing to worry about.

Out of everything you need to do, here are 6 quick things you can take action on to get the ball rolling.

1.) Watering

This is a bit of no-brainer really. Watering a garden is not an option. Start with a watering can. Only water if after sticking your finger in the soil it doesn’t feel damp.

2.) Lighting

Some plants require no shade at all. Then there are some that need a bit of shade. Then there are plants that require sun all the time. Again a simple point. Keep plants close of away from windows depending upon how much light they need.

3.) Temperature

There are some plants that require the right temperature in order to survive. Most plants like to stick in temperatures they were built to thrive in. Moving plants too often and changing their environment is not good.


4.) Feeding

Flowering plants need K2O. Foliage plants need nitrogen. Some plants need special feed, like cacti. It is best to feed your plants at the height of their active growth.

5.) Repotting

Some plants do not want to be moved at all. Then there are others that do need to be repotted for proper growth. A good test to see if a plant needs to be repotted is by turning it upside down and carefully removing the plant. If you see mostly roots then repot. If not, then should be fine.

6.) Humidity

Of course there are some plants that need a humid environment. A clever way of maintaining humidity is to put the pot inside a bigger pot and fill in the space with compost to trap the moisture. You can also spray the plant one or twice a day as well. Watch the day’s temperature though.

With a little bit of attention put on caring for your plants, you will see the benefits.

If you liked this article then please LIKE it below and make a comment.

Until next time.


Container gardening hanging basket surrey langley

3 Quick Tips For Container Gardening

Gardening
Container gardening hanging basket surrey langley

Container gardening made easy.

Right here are a few quick tips for creating a wonderful hanging basket or doing some container gardening this summer.

The first tip for you is use synthetic soil composed mainly of peat moss. Excellent soils like Pro-Mix use peat and other elements to create a soil that don’t effectively compact over the summer.

Real plant soil compacts and transforms into hard concrete beneath the pressure of normal watering. And once it does, roots cease to efficiently grow because they need excellent open cavaties to grow into and absorb nutrients in the soil.

Tough and compacted soils do not grow healthy plants so do not use real soil with your containers.

We suggest using your synthetic potting dirt from year to year.


Empty it out of the pot. We then cut it up with a shovel.

The reason this is great to do is because the compost increases air spaces and provides a jump in nutrition.

Feed your plants each and every week.

Nitrogen, is the most important nutrient for growth. It is water soluble and as water your containers from above the dissolved nitrogen is slipping out from the bottom.

We therefore suggest that you use fish-emulsion liquid feed accompanied with seaweed to provide all the trace nutrients your plants need. We can’t stress this enough.

Feel free to use any liquid plant food (like Miracle Grow) to help produce growth.

Compost tea is the Rolls Royce of liquid plant food. If you create your own compost tea, your plants will kick into gear faster and respond with bigger and better blooms as well as increased life and stamina.

Lastly, no matter what size of container you use, it is crucial to soak it all the way to the bottom during each time you water. Keep watering until you see water emerge from the pot bottom. This is a surefire sign that the roots can reach all parts of the container and grow properly.

Make sure to LIKE this post and send us a comment below if you got something from this. Share it with your friends too.

Until next time.